How to connect a SAMSUNG Tizen screen to zebrix?
Please connect the screen to the network
Your screen has to be connected to internet to be managed with zebrix. You can either connect with a network cable of via wifi.
If you choose to use wired connectivity, please connect the screen to your local network before starting the screen.
If the access to internet is limited by a firewall please make your network fulfills the prerequisites.
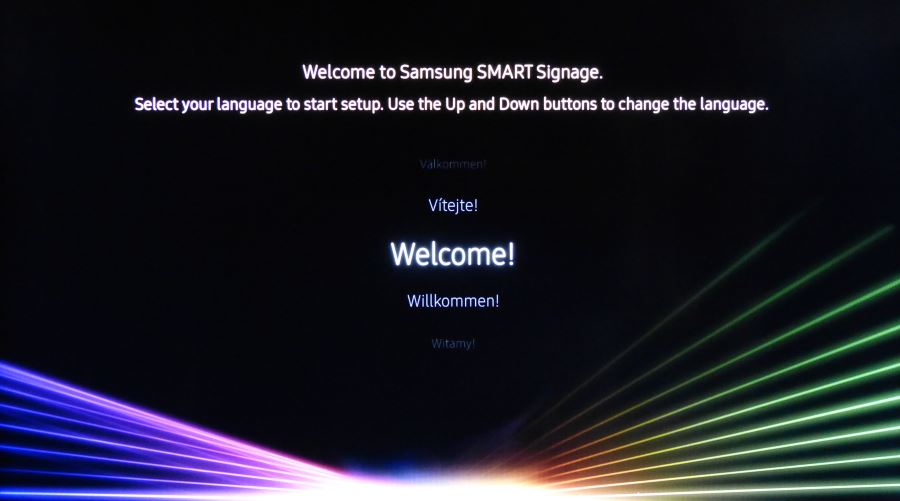
Turn the screen on for the first time
The configuration wizard starts and display a welcome screen. At this step you can choose the language you want to use.7
The configuration wizard only starts at the first power on of the display. However you can also start manually the wizard with MENU > System > Configuration.

Please select the screen orientation
Please select the screen orientation you want to use.
Please not that this setting can be changed “on-the-fly” by zebrix depending which orientation you define via zebrix CMS. If unsure, select LANDSCAPE.

Disable the "Auto Power Off" feature
The screen is set by default to power off after 4 hours. Please disable this feature or your screen will turn off automatically and it will be not possible to power it on remotely from zebrix.

Set the network configuration
You may first have to choose between “Wired Network” and “Wireless”.
Wireless
If you choose wireless, the screen will show a list of available wireless networks. Please select your network and enter the key if require.
Please note that wireless network with captive portal will not work. You must add the mac address of the screen to your white list to avoid having to validate the access on the captive portal.
DHCP
As soon the screen detects a connection (wired or wireless), it will check the access to local network and to internet.


If the access to internet is limited by a firewall and the access is only allow to zebrix server IP, this network check will fail (this is a normal behavior and you can skip this check safely
Static IP
If you need to set static IP settings, you'll have to cancel the network check (with the STOP button) and use the “IP Settings” button that will appear.
You can skip the clock/date step
Date/time settings will be automatically set from zebrix server. So you can safely skip this step (right arrow button on the remote control).

Select "URL Launcher" play mode
Please select the “URL Launcher” and press “enter”.


Then enter the URL of the zebrix server (depending on your location):
| USA - AMERICAS | http://screen.zebrix.us |
| Europe | http://screen.zebrix.net |
You can safely connect your screen to zebrix using http protocol. However if you want to display confidential information on your screen your can use https instead of http just by replacing http by https in the URL
Skip the device name step
You can skip the device name step. This name is not use in zebrix. You will be able to define a name in zebrix.

Configuration is complete

Check the firmware version
if the installed firmware is too old, the display will not work properly with zebrix. Version 2070 is highly recommended.
Here is the procedure to check the firmware version:
With the remote control: MENU > Support > Contact Samsung > version will appear on the right and should be at least 2070.
If the firmware is too old, please upgrade your screen to a recent firmware before going to the next step, here is the procedure to download and upgrade from a USB key.
Upgrading the firmware online from the zebrix interface is also possible
If your screen is activated and listed in the CMS, you can use the “hardware tool” button (at the end of the line).
Start the URL Launcher
Press the HOME button on the remote control and select URL Launcher

The zebrix app will be downloaded and started
Activate your screen
If everything went fine the following activation page will be displayed.

Please send the screen ID to support@zebrix.us (USA) or support@zebrix.net (Europe).
The screen will be associated to your zebrix account within a few hours.

As soon as your see the confirmation message, you can manage your screen from zebrix CMS
Enable "AutoSource Switching" feature
In order to ensure that the screen starts the zebrix application under any circumstances (even after an electric restart, or a voluntary or involuntary source change, application crash, etc.), we recommend enabling the “AutoSource switching” function.
This function is intended to always automatically change the source of the screen to a predefined primary source or, if no signal on that source, to a predefined secondary source. Since zebrix can't be defined as the primary source, we can choose a source that will always be unused (HDMI1 for example) and set zebrix as a secondary source. The screen will try to display HDMI1, but because this source has no signal zebrix will be launched after a few seconds.
Procedure to enable the “AutoSource Switching” feature:

MENU > System > General > Auto Source Switching

- Auto Source Switching : On
- Primary Source Recovery : On
- Primary Source : HDMI1
- Secondary Source : MagicInfo S / URL Launcher (= zebrix)
